Ever wondered how you could create a Gold material with 3D Max?
Here I'll show you exactly how.
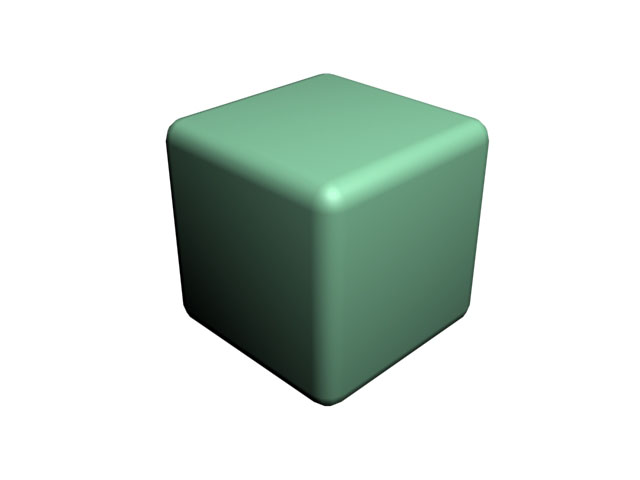
The first step is to create an object.
Let’s make a simple sphere - radius 30.
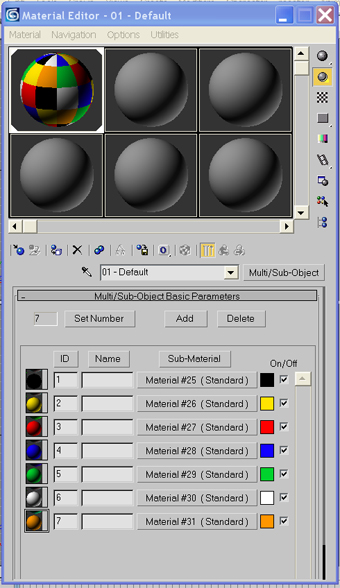
Press M for materials to set things up.
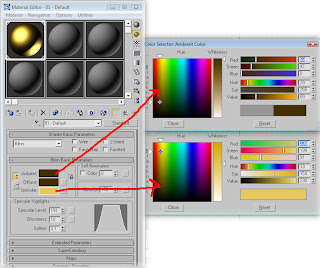
First change the Diffuse color to Dark brown - 69, 47, 0
Then – Specular to yellowish - 230,199,91
Set the Specular Level to 191
![](https://blogger.googleusercontent.com/img/b/R29vZ2xl/AVvXsEimkUg3F-HRdUrbCkrgWKWYAaxh-gIyNt2K4SZNFxDZ0F6WmeA6wtzG85o2MsrQpvfiOxD8iuYGS-dvYuJRx38z3Zd9y31ZvdrZZpulZg2KIy5SBF5C4t5PvkPvKft7IDC8QBrPXo56lpbY/s320/gold+sphere+-+1st+step.jpg)
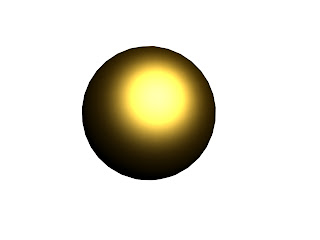
If you render it now – F9 – you could see that it has a slight resemblance of something that could be gold, but it’s not. Yet.
![](https://blogger.googleusercontent.com/img/b/R29vZ2xl/AVvXsEg65LFtSgEQCIw2iyMcCYMi6x48zfyfqEOniP3qBR077pxzVj0KZFv59uWIDr3TFe7X5iDVPxF2tPGu9jreTWMxy8Q9orZg9hrEqRns_xgT2RvNTWRKKNFcxigE9uxkDKaQFI65s3_3Sjqz/s320/gold+sphere+-+first+render.jpg)
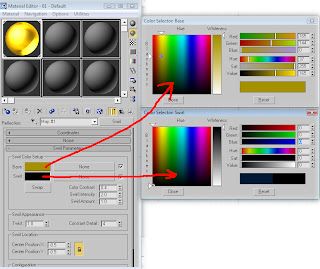
The next step is to go to Maps menu.
Check Reflection and choose Swirl map.
Change Base color for 165, 144, 0 and Swirl color for 0,0,0 – Pure black.
![](https://blogger.googleusercontent.com/img/b/R29vZ2xl/AVvXsEhznGcoBh7MLPcsDqoqGgDzH1jxps_NNC0kwOkKbES4svwOvcwvMbOrbtpoYBU1aahl42S5RkMZeboZeyqK1ORvLezIDbeDBVveYvSnaa9zwCruS8qu6cW9_N-vgjMobPKjo1ojnEawSoIX/s320/gold+sphere+-+2nd+step+.jpg)
Hit render.
![](https://blogger.googleusercontent.com/img/b/R29vZ2xl/AVvXsEhBjZCqSBdFI6LmSbG3ZDqqPtQluDAGBjweQAafnw0rVaP6CEOReqMtsxLcJyp5bd9FmS_7MLVpVGGecZcAyVXX4P9VU3rDvsXOSDxYHnr0NBVwiYQcVO5vWyw7zGGzwNbGtSKQ1ZSJjD_9/s320/gold+sphere+-+final+vers.jpg)
You will probably have some separation line in the center of your sphere.
In Coordinates change Blur offset from 0 to 1.
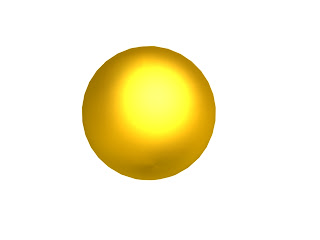
Render.
Congrats! You’ve got your Gold material.