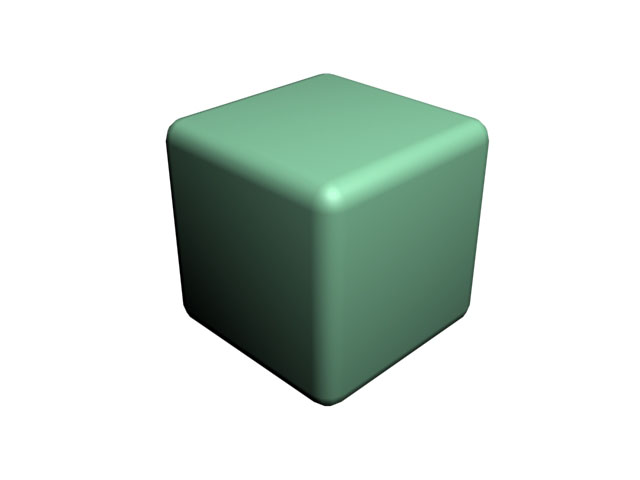
Today we will be creating a basic Rubik Cube from Chamfer boxes.
Step 1
Create a Chamfer Box (Create: Extended primitives).
L/W/H Parameters – 100.
Fillet – 9.
Modifier list: Edit Poly.
Step 2
Press M for Materials.
Choose Multi/Sub-object material in Material/Map browser.
Set Number – 7, so we’ll have 7 materials to work with.
First color must ALWAYS be a basic color of the object. Make it Black.
Create 6 additional materials Yellow, Red, Blue, Green, White and Orange.
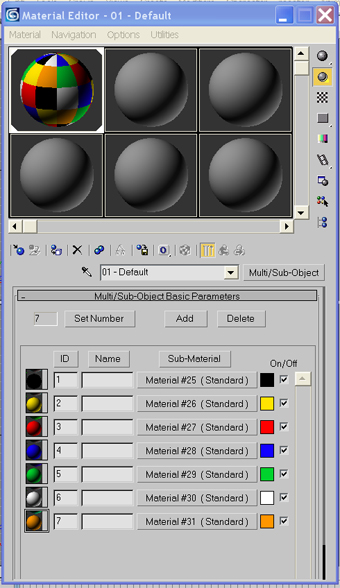
Choose Chamfer Box and apply materials. It is all Black now.
Go to Edit Poly and choose Polygon sub material.
In Polygon Sub Material drop-down menu change Set ID parameter from 1 to 2.
Hit Enter. The chosen area is Yellow now.
Apply materials and IDs to other sides of the figure.
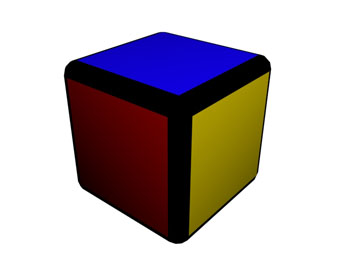
Hit Render/F9.
Step 3
To create a Rubik Cube you should multiply the existing object 3x3x3
Hit Render.
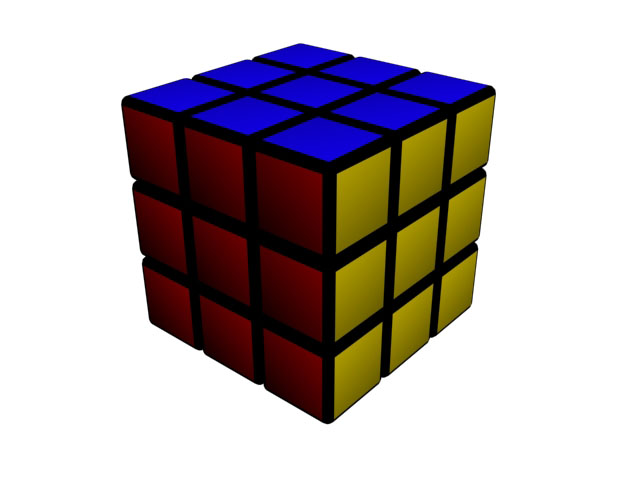
That’s all :)
Hope you enjoyed this one :)
No comments:
Post a Comment