and welcome to Lesson D01 of a Drawspace art program.
Yes!!! It is a new section!!! I am moving on to the next level. And the more I draw and develop, the more I feel I'm on the right path. But, and that's the realistic in me speaking, I made a count and realized that at this rate - 6 sections a year - I will finish the free part of a Drawspace program in 4 1/2 years. Not good - it is too slow. I should hurry and draw/post more. Will 4 times a week be to much for everyone?
Anyway, this is a new section and a new subject. So here we go, but first - I read the article itself. This lesson is all about creating small curly shapes - Squirklings - with different values using different pencils.
These are the sketches. As requested in the lesson, I used an HB, a 4H and a 4B pencils.

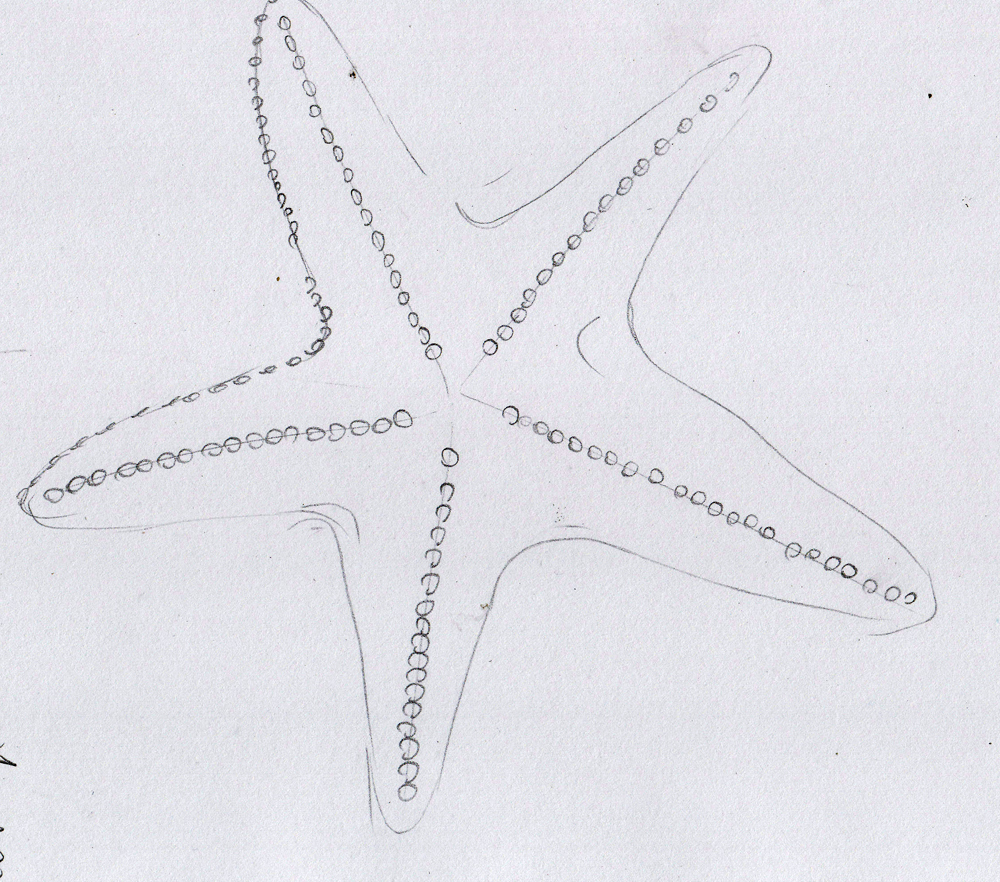
And this is the challenge.

Obviously, these were done in no time, but I did realize that this Squirklng method to be the best way to work on one's biceps. Because, boy, did my hand hurt in the end!
It wasn't easy too; I again had some difficulty with a gradient transition. But I believe this whole section will be dealing with Squirklings (a bit difficult for me to even write the word!) so I'll get more chances to practice it.
I'll see you next time.
Have a great day,
Dalia


