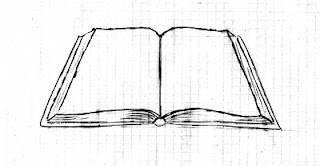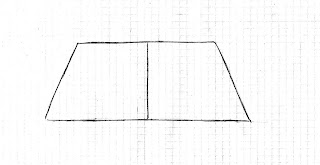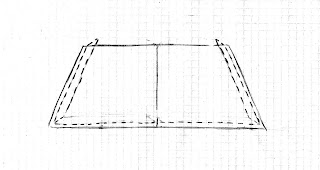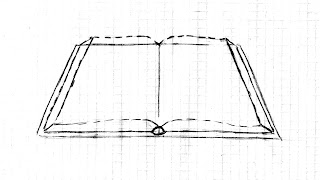
In this tutorial I will show you how to draw an open book. Every new step will be represented by a punctured line.

1. Draw a basic trapeze and divide it in the middle.

2.Create another, smaller trapeze inside the first one.
3.Draw short diagonals in the corners of the smaller trapeze and connect them as shown.

4. Connect the corners to the center of the book with curvy lines as shown.
5. Draw a small triangle at the base of the central line - make sure its base is curvy.

6. Erase the unnecessary lines.
7. In the "pages part" draw some curvy lines so the book looks like it has some actual pages.
Thats all. Hope you enjoyed this tutorial.
If you have any question regarding this tut, dodn't hesitate to ask.
Thanks sooo much! It came out beautifully! At first my books just looked like rectangles.
ReplyDeleteGlad it was helpfull, good luck in future sketches!
ReplyDeleteThanks......
ReplyDeleteIt is really very helpful for my daughter's project.
I'm glad it was helpful :)
Deletethis is an awsome tutorial but can u guys make a book with words exploding out of it please
ReplyDeleteThanks for the tutorial!! It helped me with my homework a lot! Once again, Thanks!
ReplyDeleteyou're welcome :)
DeleteThanks for the tutorial!! It really helped with my homework!! Once again, thanks!
ReplyDeleteThis comment has been removed by a blog administrator.
ReplyDeletethanks a lot..
ReplyDeleteyou're welcome :)
DeleteI love it soo much the tourtial !!!
ReplyDeleteI'm glad yo ulike it :)
ReplyDelete