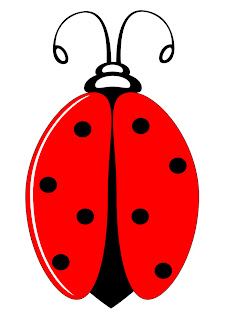
In this tutorial I will explain how to create this beautiful Ladybug using mostly ellipses.
Before you start, make sure you have a reference image to base your illustration on. To make your work easier remember to create each object on a separate layer.
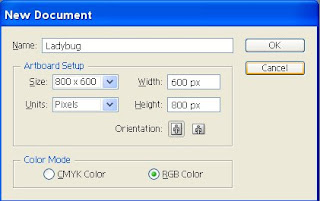
1. Open a New document (Cltr + N), Name it Ladybug And choose Portrait layout.
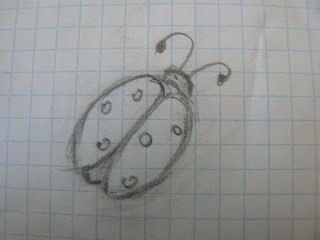 2. Now let's import the reference image. Go to File-Place and choose your image. Scale and rotate the image, if needed, to fit your working area. Use Selection tool (V) to do so. Press Shift to preserve the image original proportion. When finished – lock the layer and create a new one.
Before you create anything make sure your color switches are set to transparent and bright green.
And now let's get to work.
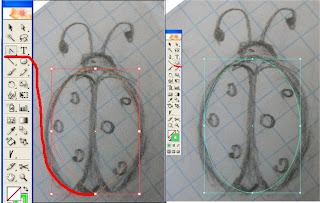
3. To create the body of our bug, draw an ellipse and scale it to fit the reference. To make a pointy tail press Convert Anchor Point tool and press the bottom point. Again, lock the layer and create a new one.
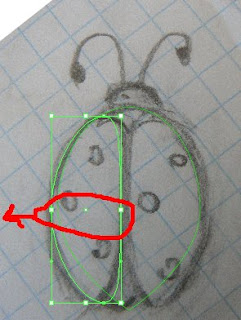
4. Create another ellipse for the wing. With a Direct selection tool (A) choose two middle points and move them to the left. Keep moving the dots until the ellipse becomes a wing.
Choose and right click the wing to Transform and Duplicate it.
In the pop-up menu leave settings as they are – vertical and 90 – and press copy. Your lady bug now has two identical wings. Move it to the right. Scale and fit them again if needed.
At this point you can put some black color on ladybug's body and some red on the wing. Make all strokes black.
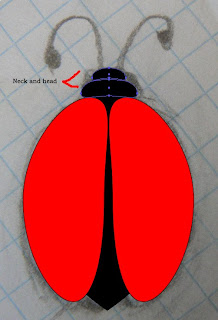
5. Create an ellipse for the neck. Move the middle points up to make a C shape. Copy (Alt + drag) and scale it to make the head.
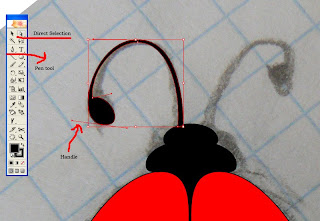
6. Use a Pen tool (P) to create antennas. Move points and handles until it looks right. To move each handle separately press Alt. If you find it hard to see the handles double click the forms layer and in Layer Options window change the color. Fill the antennas with Black color.
7. Add some black dots to the wings – again, using ellipses. At this point you can hide or remove the reference image, since you won't need it anymore.
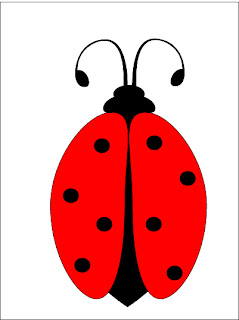
Our Lady bug looks nice and almost finished.To make it look even nicer we'll add some highlights for the final touch.
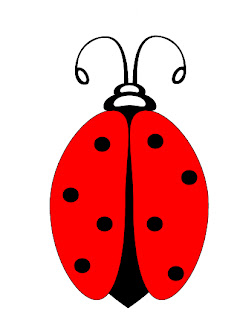
8. Copy the neck and the head and paste them on another layer. Scale them to be smaller, fill them with white color and place them back on black.
9. Add another 2 white small ellipses for antennas.
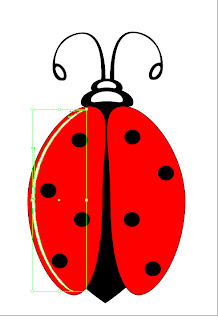
10. The final highlight will be for the left wing. Create one last ellipse and start moving points and handles to make a narrow C shape. Fill it with white.
That’s it.
Our glamorous Ladybug is finished.
If you have any question regarding this tutorial, feel free to post.
Oh, what a treat to follow your lovely comment on my blog and find all these great tutorials! I've done very, very little digital illustration (it's kind of intimidating to me!) but you make it seem possible! :-)
ReplyDeleteThank you, Monica....
ReplyDelete